Oil Cleansing for Sebaceous Filaments — Does It Work?
- What are sebaceous filaments?
- Oil Cleansing for Sebaceous Filaments: Why does this matter?
- Are They Blackheads or Filaments?
- How oil cleansing is supposed to help
- Choosing the Right Oil (and What to Skip)
- Which Oil is Right for Your Skin Type?
- Oils vs. Balms: Which one should you pick?
- Types of oil-cleansing methods
- Step-by-Step: How to do it right
- How to Mix This with Your Other Products
- Safety First: What Not to Do
- Common Questions (FAQ)
- Final Thoughts: Consistency is Key
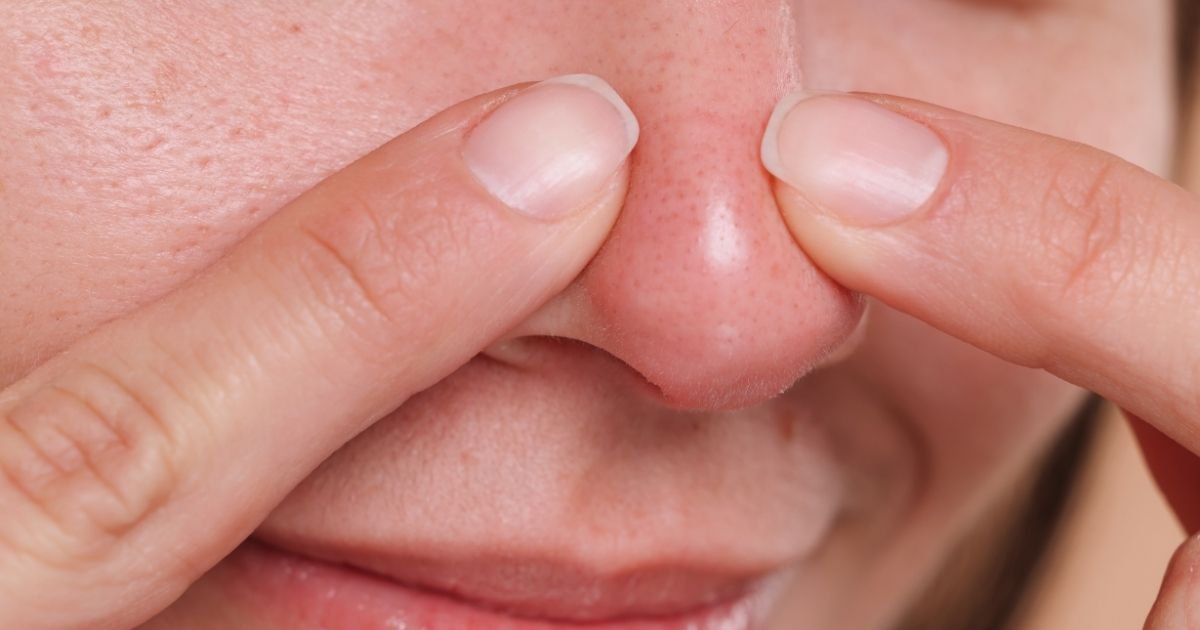
You have tried pore strips. You have tried clay masks. You have tried scrubbing your nose until it’s red.
But those tiny grey dots on your nose (Sebaceous Filaments) always come back within 2 days. Why?
Because you are treating the surface, not the root. Pore strips only rip off the top layer. To actually clear your pores, you need to use basic chemistry: ‘Like dissolves Like.’
Since sebaceous filaments are made of oil (sebum), only Oil can dissolve them deeply. In this guide, we will teach you the Oil Cleansing for Sebaceous Filaments to pull out the gunk without damaging your skin.
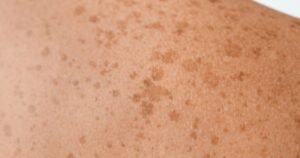
What are sebaceous filaments?
First things first: sebaceous filaments are completely normal.
Think of them as tiny pathways lining the inside of your pores. According to PubMed, basically, they are just a collection of your skin’s natural oil (sebum) and dead skin cells. Usually, they are invisible, but you might start seeing them if your skin produces a bit of extra oil or if you have naturally larger pores.
Oil Cleansing for Sebaceous Filaments: Why does this matter?
Because dealing with them can be seriously frustrating. You know the struggle: you look in the mirror, and all you see are those tiny dots or that greasy shine across your nose and T-zone.
Maybe you’ve already tried scrubbing them away or ripping them out with pore strips. The problem? The results usually don’t last, and often, your skin just ends up red and irritated.
If you’re currently stuck wondering, “Should I squeeze them? Should I try another product?”—don’t worry. We’re going to skip the harsh tactics and focus on a safe, realistic plan that actually helps clear things up.
Are They Blackheads or Filaments?
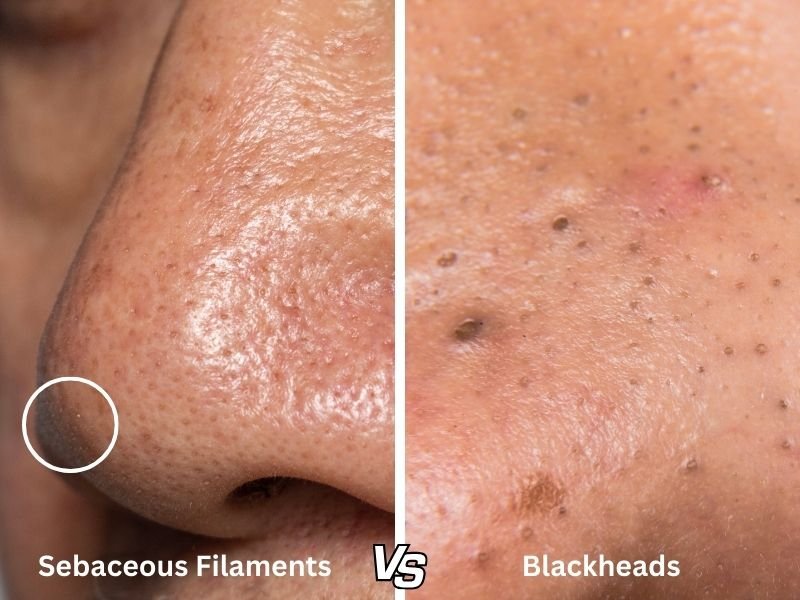
| Feature | Blackheads | Sebaceous Filaments |
| Color | Dark Black (like a plug). | Light Grey, Tan, or Yellowish. |
| Texture | Raised (you can feel a bump). | Flat (smooth to touch). |
| Location | Random spots on face/body. | Usually grouped on the Nose & Chin. |
| Purpose | Clogged pore (Acne). | Natural oil channel (Normal). |
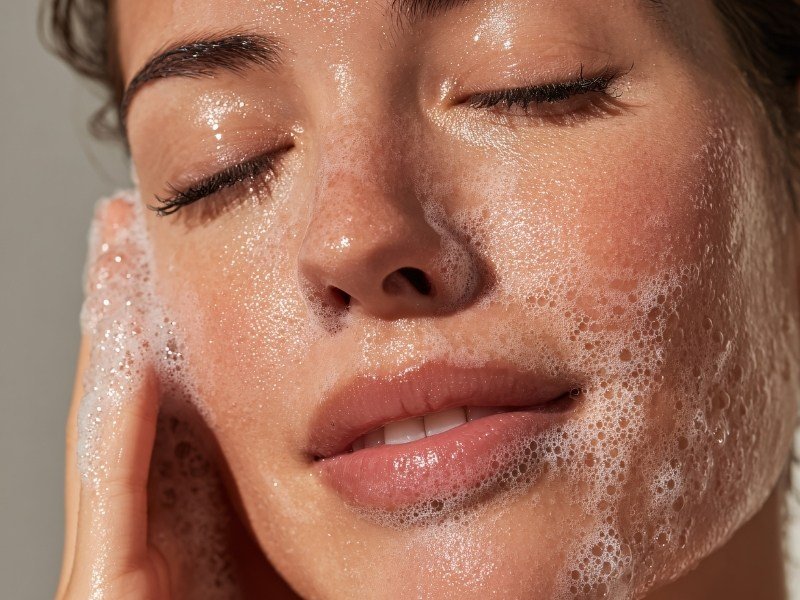
How oil cleansing is supposed to help
Since the sebum clogging your pores is oil-based, water just slides right off it. An oil cleanser, however, can actually dissolve that waxy buildup and lift it off your skin. There is real science to back this up, too—studies (like one from 2016) have shown that oil-based cleansers are much more effective at cleaning out the oil and dirt than regular soaps.
The Magic is in the Massage
It’s not just about applying the oil; it’s about what you do with it.
When you gently massage the oil into your skin and then add water, it emulsifies (turns into a milky white liquid). This process loosens the debris deep inside your pores so it can be rinsed away easily. You might even feel tiny grains on your fingers—those are the “grits” or plugs coming out. That means it’s working!
Choosing the Right Oil (and What to Skip)
Not all oils are created equal. Since the goal is to clear your pores, you want to pick an oil that is light and won’t cause more clogs.
Best Oils to Try: These are low-risk and usually work well for most skin types:
-
Jojoba Oil: This is very similar to the natural oil your skin makes, so it’s usually a safe bet.
-
Sunflower or Safflower Oil: These are very light and don’t feel heavy on your skin.
-
Grapeseed Oil: This one is thin and absorbs quickly.
-
Mineral Oil: This is a simple, basic oil that is unlikely to clog your pores.
Oils to Use Carefully (or Avoid): Some oils are “thicker” and might actually make your pores look worse:
-
Coconut Oil: While popular, it can be heavy and cause breakouts for many people.
-
Wheatgerm or Almond Oil: These can be a bit too rich and might clog your pores.
Top Tip: Choose cleansing products that contain emulsifiers so they rinse off easily. If possible, pick ones with added actives like BHA or LHA to help penetrate and clean pores more effectively.
Which Oil is Right for Your Skin Type?
Choosing the wrong oil can feel heavy or greasy, but picking the right one changes everything. Here is a quick cheat sheet to help you decide:
1. For Oily or Acne-Prone Skin
-
Best Pick: Grapeseed Oil or Sunflower Oil.
-
Why: These are incredibly light and thin. They have high levels of linoleic acid, which is actually helpful for acne-prone skin. They wash off easily and won’t leave you feeling greasy.
2. For Dry or Dehydrated Skin
-
Best Pick: Jojoba Oil.
-
Why: Jojoba is unique because it closely mimics the natural oils your skin produces. It provides great moisture without clogging your pores, leaving your skin feeling soft and hydrated.
3. For Sensitive or Reactive Skin
-
Best Pick: Mineral Oil.
-
Why: It might sound basic, but Mineral Oil is “inert,” meaning it doesn’t react with anything. It is the safest choice if your skin gets red or irritated easily because it rarely causes allergic reactions.
4. For Combination Skin
-
Best Pick: Safflower Oil or Jojoba Oil.
-
Why: These strike a perfect balance—they are moisturizing enough for your dry cheeks but light enough for your oily T-zone.
Oils vs. Balms: Which one should you pick?
When you go shopping, you will mostly see two types of products. Both work well, but they feel a little different:
-
Cleansing Oil (Liquid): This is a thin liquid that is very easy to spread all over your face. It mixes with water very fast and is great if you want to get finished quickly.
-
Cleansing Balm: This comes in a jar and is a bit thicker, like a soft cream. It is excellent for removing heavy makeup, but it takes a few more seconds to mix with water and rinse off.
What to look for on the label: Try to find products that say “washes off with water” or “rinses clean.” You want an oil that disappears when you wash it so your skin doesn’t feel heavy or greasy afterward.
Studies show that a well-made cleansing oil can be gentle and effective.
Types of oil-cleansing methods
There are a few ways to add oil cleansing to your routine. Here is how to get the best results:
1. The Daily Cleanse (Best for most people): This is a quick and easy way to keep your skin clear every day.
-
Massage: Gently rub the oil onto your dry face for about 60 to 90 seconds.
-
Mix: Add a little water so the oil turns milky.
-
Rinse: Wash it all off with warm water.
-
Finish: Use your regular water-based face wash afterward.
2. The “Double Cleanse”: If you wear makeup or sunscreen, this is the best method for you. Research shows that oil cleansers are much better at cleaning out the sunscreen and makeup than water alone. By using an oil cleanser first and your regular soap second, you make sure nothing is left behind to clog your pores.
3. The Deep Clean Session (Once a week): If you feel like your pores need extra attention, you can try a longer session.
- Longer Massage: Spend about 5 to 10 minutes gently rubbing the oil into your skin.
- Add a Mask: Some people like to use a clay mask afterward to help soak up even more oil, according to the study.
- Be Careful: Only do this once a week. If your skin starts to feel red or itchy, stop right away and go back to the daily method.
If your nose gets oily very quickly, read our tips on 👉 Niacinamide for Oily Skin.
Step-by-Step: How to do it right
Ready to try it? Here is exactly how to do it for the best results without hurting your skin.
1. The Daily Routine (The Best Way to Start)
Do this once a day, usually in the evening, to clear away the day’s dirt and oil.
-
Start Dry: Make sure your hands and your face are completely dry. Take about a tablespoon of oil (or a small scoop of balm) into your palms.
-
The Massage: Gently rub the oil onto your face for 60–90 seconds. Focus on your nose or anywhere you see those tiny dots. Use very light pressure—no need to scrub hard!
-
The Mix: Wet your hands with a little water and keep rubbing. The oil will turn into a milky white liquid.
-
Rinse: Wash your face well with lukewarm water.
-
The Second Wash: Use your regular water-based face wash for about 30 to 60 seconds. This makes sure every bit of oil is gone.
-
Finish: Pat your skin dry with a soft towel and put on your usual actives/moisturizer or cream.
2. The Weekly Deep Clean (Optional)
If your skin feels extra oily, you can try this once a week.
-
The Long Rub: After steps 1–3 above, keep massaging gently for 5 to 10 minutes. If your skin starts to feel hot or looks red, stop early.
-
Rinse and Mask: After you rinse the oil off, you can use a clay mask if you like. This helps soak up any leftover oil and makes your skin feel even smoother, according to the study.
-
Frequency: Only do this once a week. If you do it too much, your skin might get dry or irritated.
Safety Note: If your skin ever feels like it’s burning, stays red for a long time, or you start seeing more breakouts, take a break! Your skin might just need a simpler routine for a few days.
Still confused if they are blackheads? Check our identification guide on Tiny Black Dots on Skin Suddenly.
How to Mix This with Your Other Products
If you are using strong ingredients like Salicylic Acid (BHA) or Retinoids, the order matters! Here is the best way to layer them:
1. Cleanse First, Treat Second. Always do your oil cleansing first. Rinse it off, dry your face, and wait a few minutes. Then, apply your treatment.
2. Why Salicylic Acid (BHA) is Your Friend Salicylic acid is a superstar for pores because, unlike other ingredients, it loves oil. A 2015 review showed that it can actually dive deep inside your oily pores to unclog them from the inside out. It’s one of the best tools for keeping those sebaceous filaments away.
3. Don’t Overdo It. If you want to use both BHA and Retinoids, take it slow! These are powerful ingredients.
-
Start Slow: Try using them on alternate nights (BHA one night, Retinoid the next).
-
Watch Your Skin: If you use them both at the same time, you risk irritating your skin, so be patient.
4. The Morning Rule. In the morning, you can do a quick cleanse if you want, but the most important step is Sunscreen. Because you are clearing out pores and exfoliating, your fresh skin needs protection from the sun every single day.
Safety First: What Not to Do
-
Don’t Squeeze: Please don’t pick or squeeze your pores. This can cause swelling and even leave permanent scars.
-
Be gentle: You don’t need harsh scrubs or over-exfoliation. If your skin ever feels painful, looks very red, or has inflamed bumps, it is best to stop what you are doing and see a professional.
-
Check with a Doctor: If you use strong topical treatments from a doctor (like Tretinoin, isotretinoin), ask them before starting this routine. These products make your skin very sensitive, so you have to be extra careful.
Common Questions (FAQ)
Q: Will oil cleansing make SFs worse?
A: Usually, no—it actually helps! Just make sure to avoid heavy oils and don’t overdo it, or you might cause a breakout.
Q: How often should I oil-grit?
A: Start with just once a week. If your skin is very oily, you can try it twice a week, but no more than that.
Q: Which oils clog pores?
A: Stay away from heavy oils like coconut, wheatgerm, and some nut oils because they can clog pores. Jojoba, sunflower, mineral oil are lower-risk.
Q: Can I use oil cleansing with tretinoin?
A: Yes! Just be very gentle and don’t rub too hard. Wait a few minutes after washing your face before you apply your Tretinoin.
Q: Are the “grits” from SFs?
A: They can be a mix of sebum, dead skin, product residue, and loosened material. This doesn’t mean the core of sebaceous filaments is being permanently removed.
Final Thoughts: Consistency is Key
Look, if you only take one thing away from this guide, make it this: be patient with your skin.
We all want those annoying little dots gone yesterday, but the reality is that sebaceous filaments are normal. You can’t wave a magic wand and delete them forever. However, oil cleansing is honestly one of the best tools you have to keep them under control without damaging your skin barrier.
The real secret isn’t scrubbing hard—it’s showing up every day. Pick the oil that suits your skin type, be gentle, and give it time to work.
One last note: If you are dealing with severe acne, painful cysts, or persistent skin issues, please see a dermatologist before trying any new products. It is always safer to get professional advice to make sure you are doing what is best for your skin.